
This is a little problem i found when modeling my product shot for the demo reel.
After using the "trim tool" for doing that star shape hole on the geometry i needed to do a loft between the onward and backward star edges.
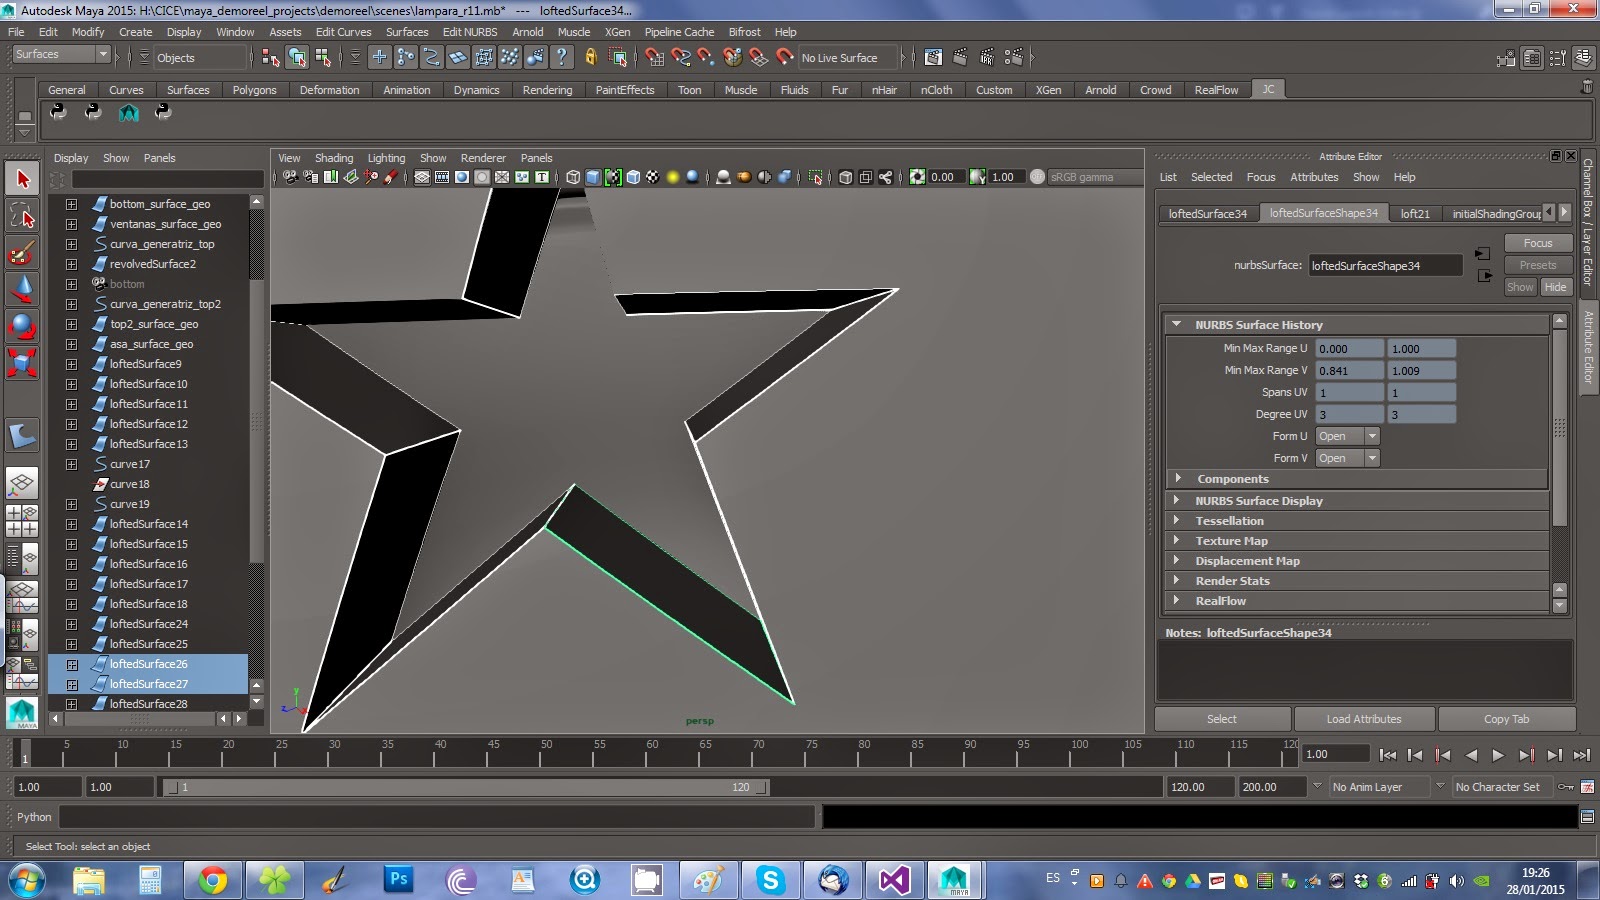
This is what i got from the "loft tool":

As you can see if you zoom in the image a problema arises : the resulting "geometry" is very ugly. At first i thought it could be the viewport cheating. I did a render and... exactly, the lofted surfaces were as shown :( --> big problem.
So I decided to automate the first process i came into when i started this, which was selecting pair by pair of trimmed edges and loft them. The drawback was that I had to do several times the op. Here comes Python I thought. It took me a couple of minutes and a look at http://download.autodesk.com/us/maya/2011help/CommandsPython/loft.html to figure it out.
import maya.cmds as mc

curSel = mc.ls(long=True, selection=True)
if not curSel :
    sys.stdout.write("No object(s) selected!!")
else:
    nOfEdges = len(curSel)
    for i in range(0,nOfEdges,2):
        mc.loft(curSel[i],curSel[i+1])
Important Note: it's crucial for the code to be effective that you SELET BY PAIRS

Here above all the trim edges selected.
Now below the result after applying the script:
Notice how the topology is now super clean!!! :))
No hay comentarios:
Publicar un comentario